| Latest |
|
Written by Dooney |
| Tuesday, 21 May 2013 18:23 |
|
Share
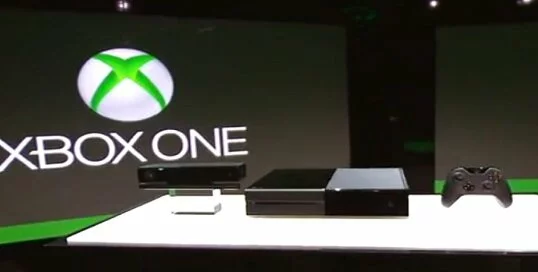
At 10am Pacific time (6pm GMT) Microsoft finally lifted the lid on the XBOX 360's successor, the XBOX ONE will launch later this year (2013).
|
|
Read more...
|
|
| Xbox 360 August Dashboard Update |
| Latest |
|
Written by Dooney |
| Sunday, 19 May 2013 08:13 |
|
Share

Rumour has it that Microsoft is preparing to roll out another dashboard update this August, The update will reportedly scrap off the Microsoft points system and ready itself for the next gen console.
|
|
Read more...
|
| Latest |
|
Written by Dooney |
| Thursday, 16 May 2013 06:24 |
|
Share

For a long time now EA titles have carried the controversial online pass system, the said system was intended to bleed gamers further and profit from the second hand game market - Shame on you EA
|
|
Read more...
|
| Batman: Arkham Origins announced |
| Latest |
|
Written by eddie tubs |
| Tuesday, 09 April 2013 19:25 |
|
Share

While the war over always on internet is still ongoing,there is one man who wont be getting involed and thats Batman, because he is coming to the Xbox 360 in Batman: Arkham Origins.....
|
|
Read more...
|
| Latest |
|
Written by eddie tubs |
| Friday, 15 March 2013 18:06 |
|
Share

The third street saints are only finished shooting up Stilwater,but they are not ready to rest.Saints Row IV is heading to Washington D.C.The goal is the President and the oval office.......
|
|
Read more...
|
|
|
|
| Page 1 of 183 |
